this post outlines a remodel project that I did in which I have installed a patio where a large picture window once was. This project continued to push my patience as well as my budget. As with any older home every time I would go deeper I would find more things wrong, but this was still a great weekend project.
basic tools: if you have it you will need it almost every tool I owned went into this one.
time frame: 2 weeks
this project took me one hard weekend and a few extra days for drywall and muding and sanding and painting and other finish carpentry
difficulty: moderate to difficult
basic framing knowledge and door installation techniques are required.
Day 1 : the recon
we removed sections of wall to see what the framing looked like and to see if there were any buried electrical or plumbing that would surprise us. As you can see in this picture there was no header for the 6ft wide single pain picture window, there was also no corner framing at all, the window held up the house.

still Day 1
Due to having no header in the wall I knew we were going to have to build a temp wall to hold the roof while we build a new exterior wall, I began removing the ceiling tiles and discovered duct tape was used to hold the ceiling together.

Day 2
major destruction and cleaning
This day we did alot of work to tear out the wall, you can see the temporary wall behind "King" jeffy. This was a huge mess and we were very happy to have this much done, the original plan was take this part of the wall down and add a patio door but once we got it out we discovered there was no corner framing or headers so we decided to just keep tearing more wall until the whole corner was opened up 8 ft from the corner in both directions.


in this picture we began the framing starting in the corner.

this picture shows the framing complete and correct, we felt much more secure with good framing in the corner we took out the temp wall to give us more room to work, we did the complete tear out and re-frame of this wall before noon on day 2.

just to prove I was here and working. I like dewalt.

the patio door fit like a glove, we got it squared and shimmed and tacked in place in about 1 hour. we put the frame up first then istalled the door panels after the frame was secured. you can see clearly the header that was never installed over the window, you can also see the other window which was day 3's project.

As you can see the sun is starting to set on DAY 2 activities, this is how far we got in one day. I ran out of the sealing tape so I had to wait until day 3 to get more and finish sealing the door. Not bad for one days work.

Jeff had to leave to catch a brewer game so my friend Colin came over to help me clean up a little before day 3. just to prove he was there I added this picture.

DAY 3
3 hours after day 3 started we had the old wall out and had begun to reframe, here is Jeff once again inspecting my framing ability.

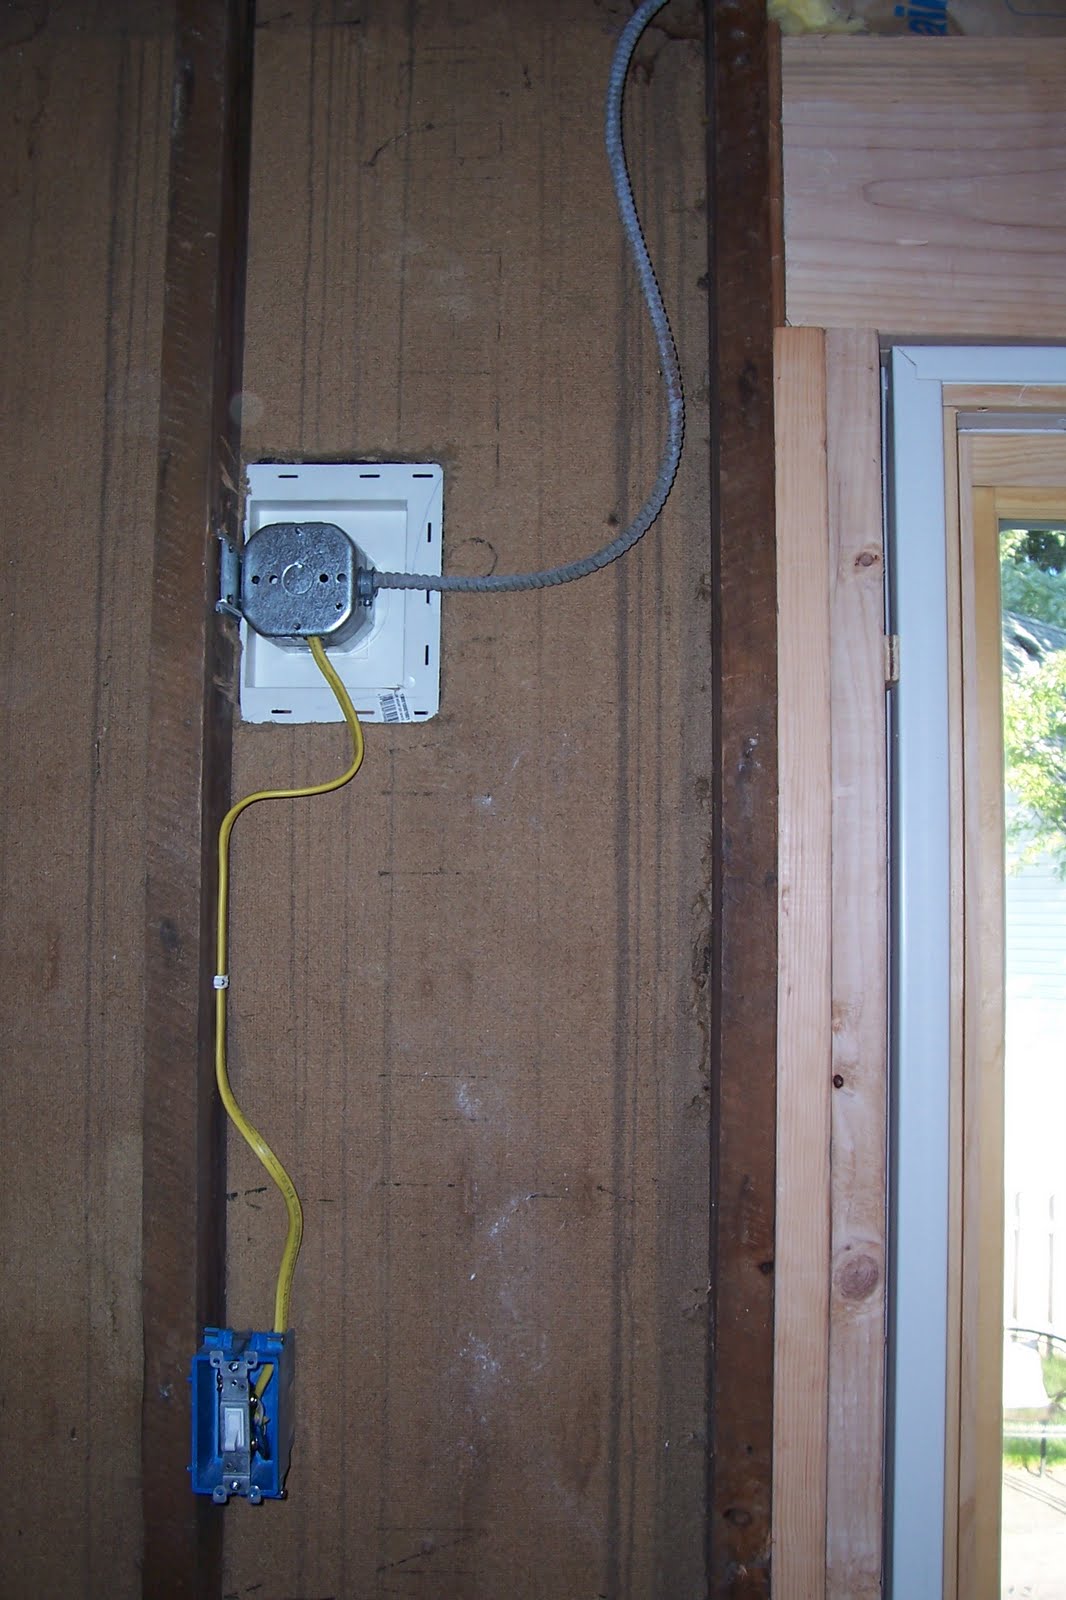
by the end of day 3 the wall was framed, a new double pain Anderson window was installed and the insulation was complete. I did find a buried over-the-stove fan behind the wall which I removed and put in a standard electrical box with a new outlet.

DAY 4: the next weekend
I had to work all week so I didn't get much done, but the next weekend was siding, all the siding got installed and the outside of the house was sealed, just in time too because about 2 weeks after this we got our first night below 40 degrees and 2 weeks later our first snow fall.


added a few accessories

DAY 6 and 7 the following weekend
Added a bit of drywall.


BAM all done.


I want to give a special thanks to Jeff and Colin for all there help, without them this project would have never gotten done as quick as it did. Becky, thanks for being patient while I improved our home. And to Home Depot for supplying me with the knowledge and material to do this project myself.
I hope you enjoyed this blog come back soon.
future blogs will include:
-bottling of my first batches of wine
-the beginning of new batches
-renovating 3 bathrooms
-renovating 2 more exterior walls (opposite side of the house as the above post)
-installing a deck
You guys work fast! Installing door frames is not a piece of cake. It takes a lot of skills and knowledge in order to finish the full monty. The common mistake ‘do-it-yourself homeowners’ do is forgetting to frame the doors before installing the wall studs in a wall frame. It’d be much easier to properly space wall studs to get a clean installation and evenly distribute load-bearing studs IF you frame your doors first.
ReplyDeleteMarla Hinds
In a span of almost just a week, the new patio door was installed. It really makes the work faster when you have someone to help you. By the way, where did you get the knowledge or idea about installing doors? You guys did it very well -- it looks like it was done by a professional!
ReplyDeleteMaricela, thanks for your comment, our house was build pre 1950 and had no insulation in the walls, because it gets cold in Wisconsin I just wanted to add some insulation, I got a good deal on the patio door at home depot, and the knowledge came from getting my hands dirty this was my first patio door.
ReplyDeleteIt's true that you won't learn how to fix things without getting hands on. Anyway, it's good to hear that you did a good job on your first attempt. But just a reminder, sliding doors are usually get stuck up on the lower track. So to avoid this, make sure that it's lubricated and clean.
ReplyDelete#Rolf@NVRoofs.com